Welcome to your Sourdough Starter kit! Below I will include instructions for feeding, rehydrating dehydrated starter, and some links and recipes I enjoy.
Please keep in mind, this is just how I do it! Every recipe you will find may have a different take; some people are more rigid about their sourdough and others are more relaxed. You have to find your own rhythm.
First and foremost…
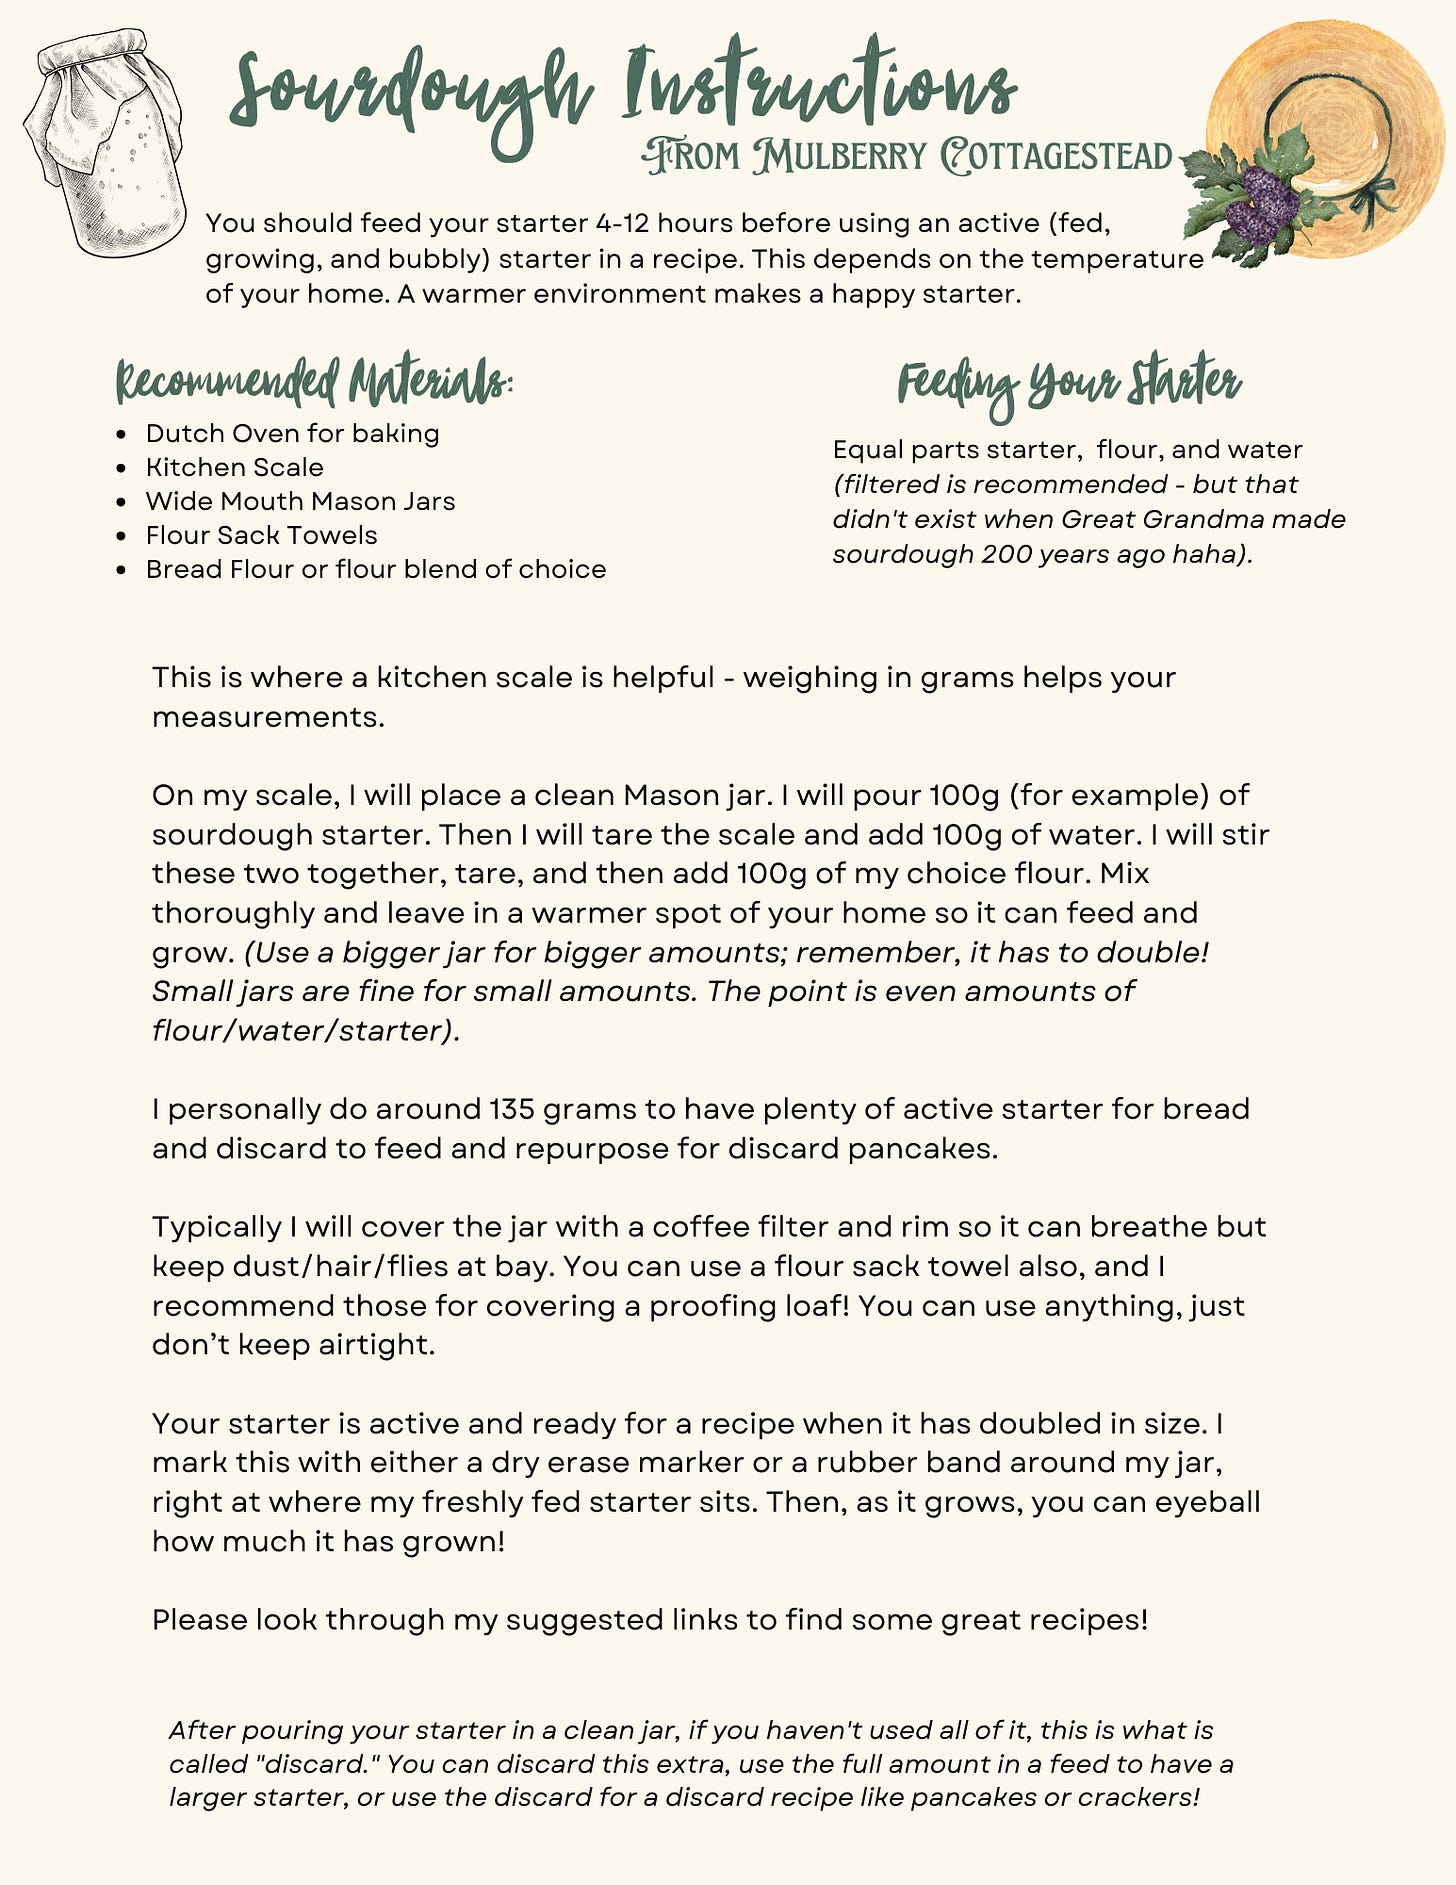
Here are a few recommended items I suggest for working with sourdough:
Dutch Oven for baking
Kitchen Scale
Wide Mouth Mason Jars
Flour Sack Towels
Bread Flour or flour blend of choice
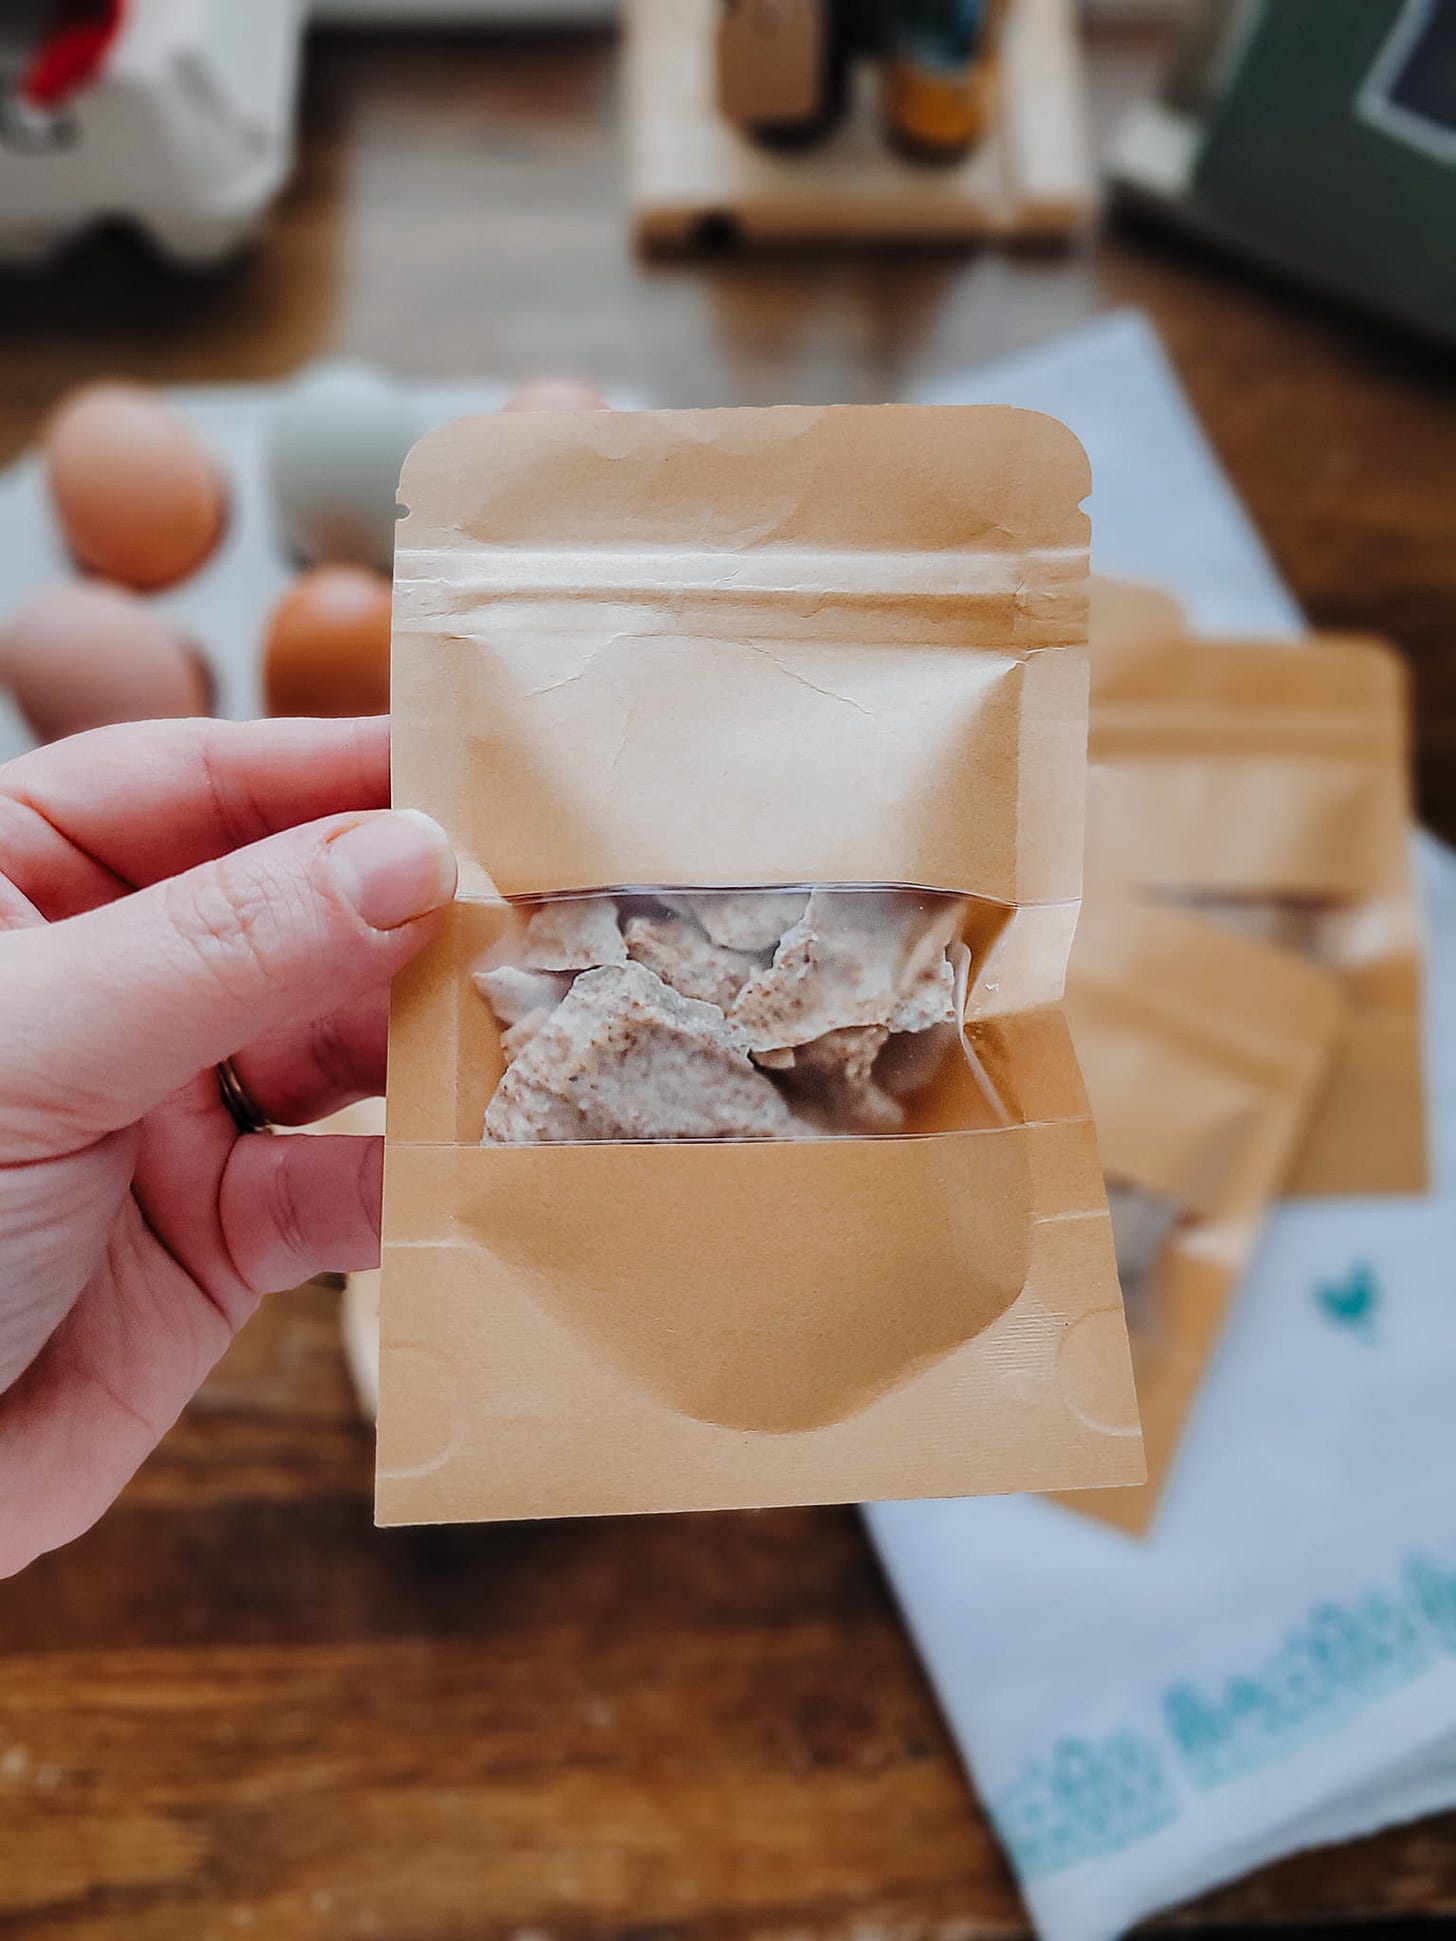
If you have purchased a dehydrated sourdough starter from me… let’s get started!
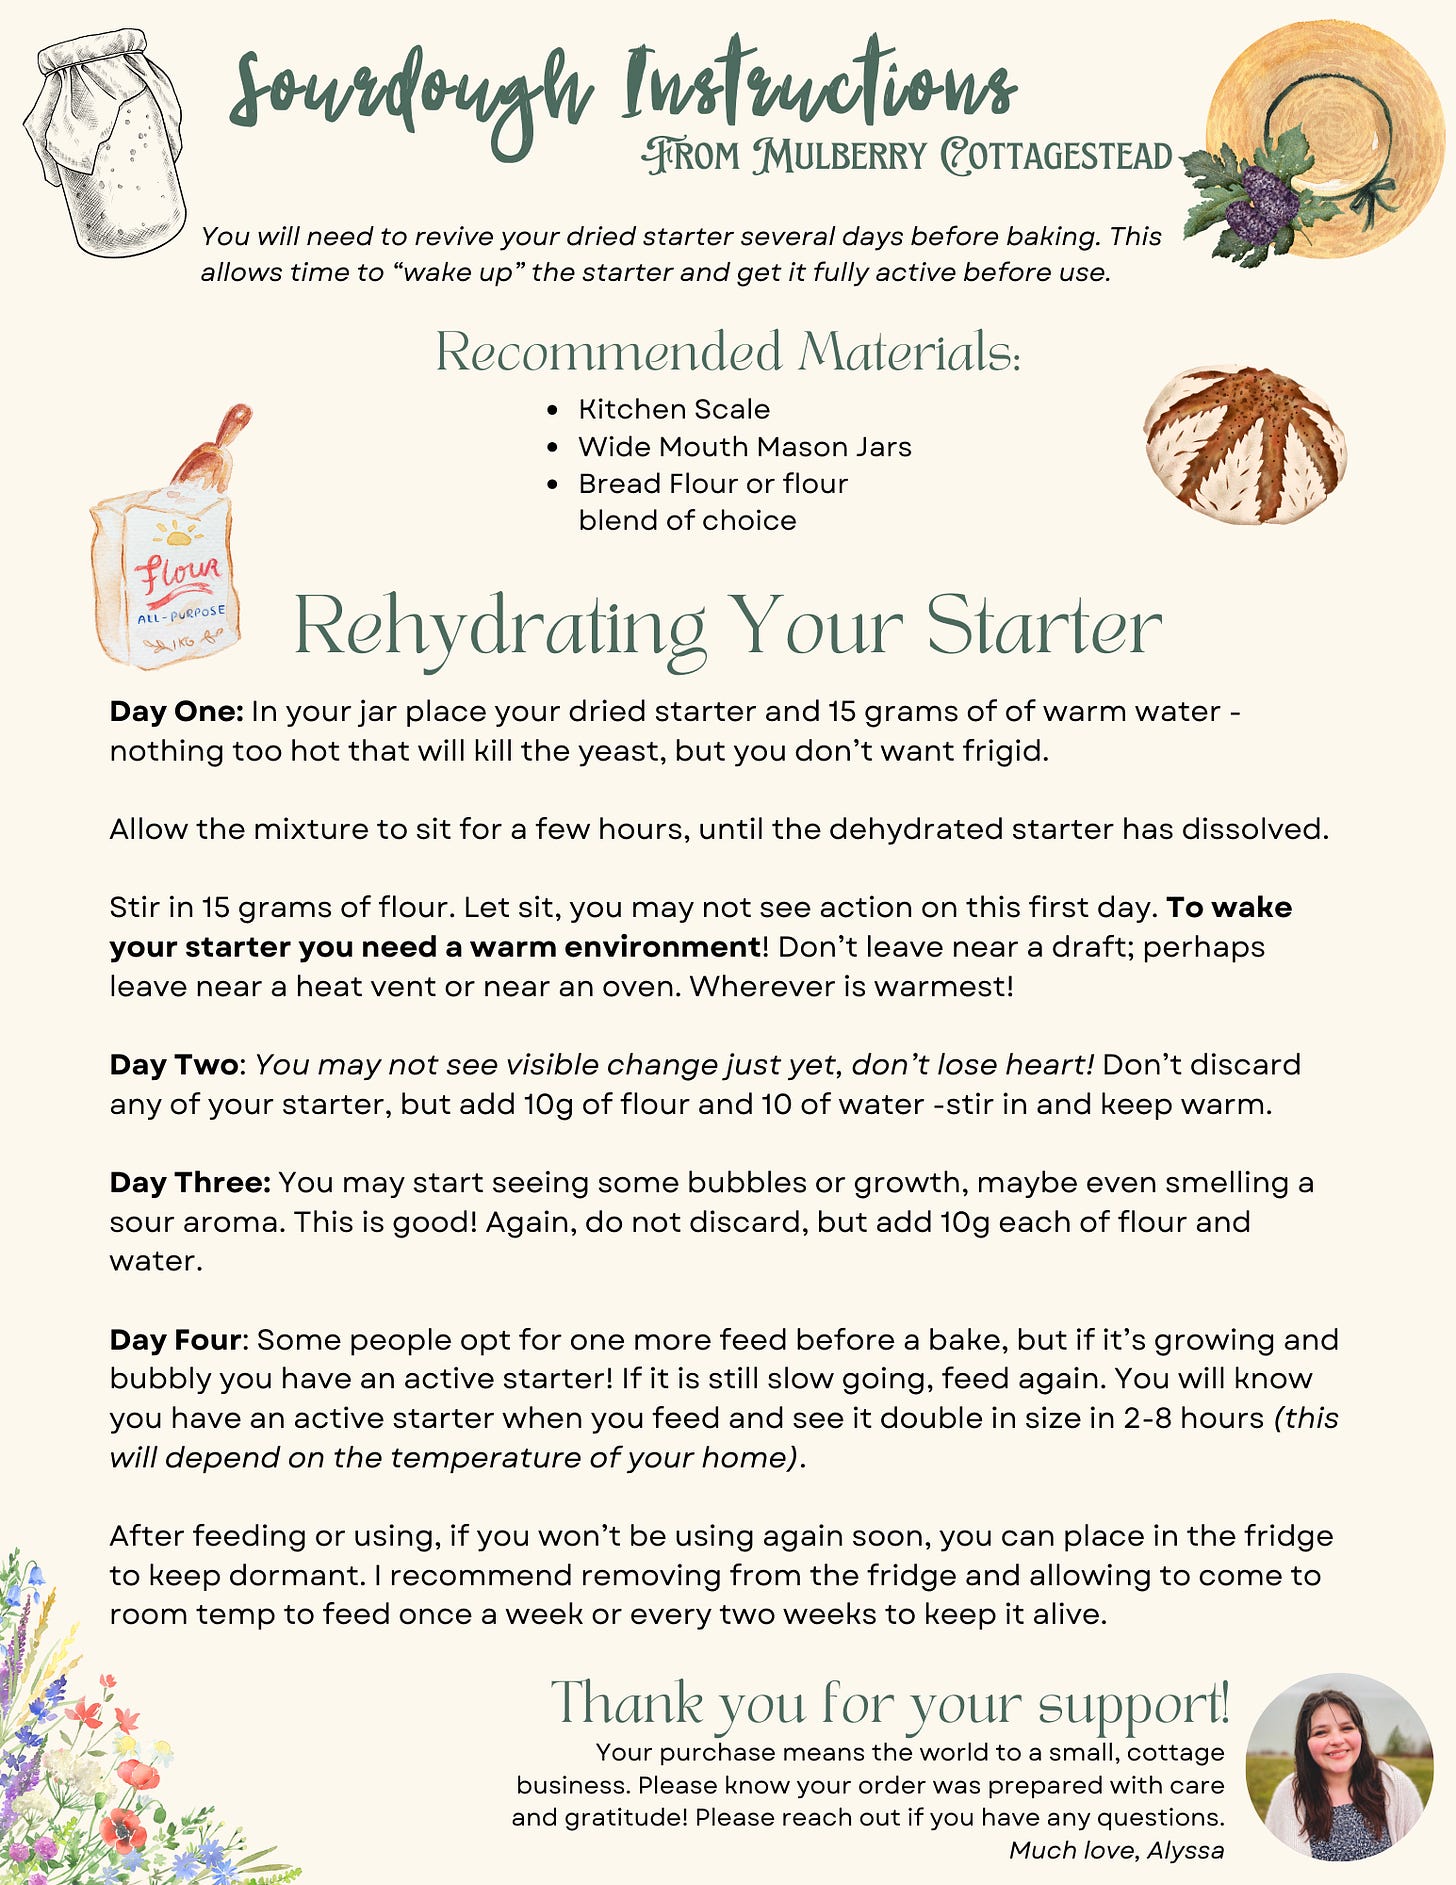
(I will also have images at the end for you to download and print to keep handy in your kitchen.)
You will need to revive your dried starter several days before baking. This allows time to “wake up” the starter and get it fully active before use!
Day One: In your jar place your dried starter and 15 grams of of warm water - nothing too hot that will kill the yeast, but you don’t want frigid.
Allow the mixture to sit for a few hours, until the dehydrated starter has dissolved.
Stir in 15 grams of flour. Let sit, you may not see action on this first day. To wake your starter you need a warm environment! Don’t leave near a cold draft; perhaps leave near a heat vent or near an oven. Wherever is warmest!
Day Two: You may not see visible change just yet, don’t lose heart! Don’t discard any of your starter, but add 10g of flour and 10 of water -stir in and keep warm.
Day Three: You may start seeing some bubbles or growth, maybe even smelling a sour aroma. This is good! Again, do not discard, but add 10g each of flour and water.
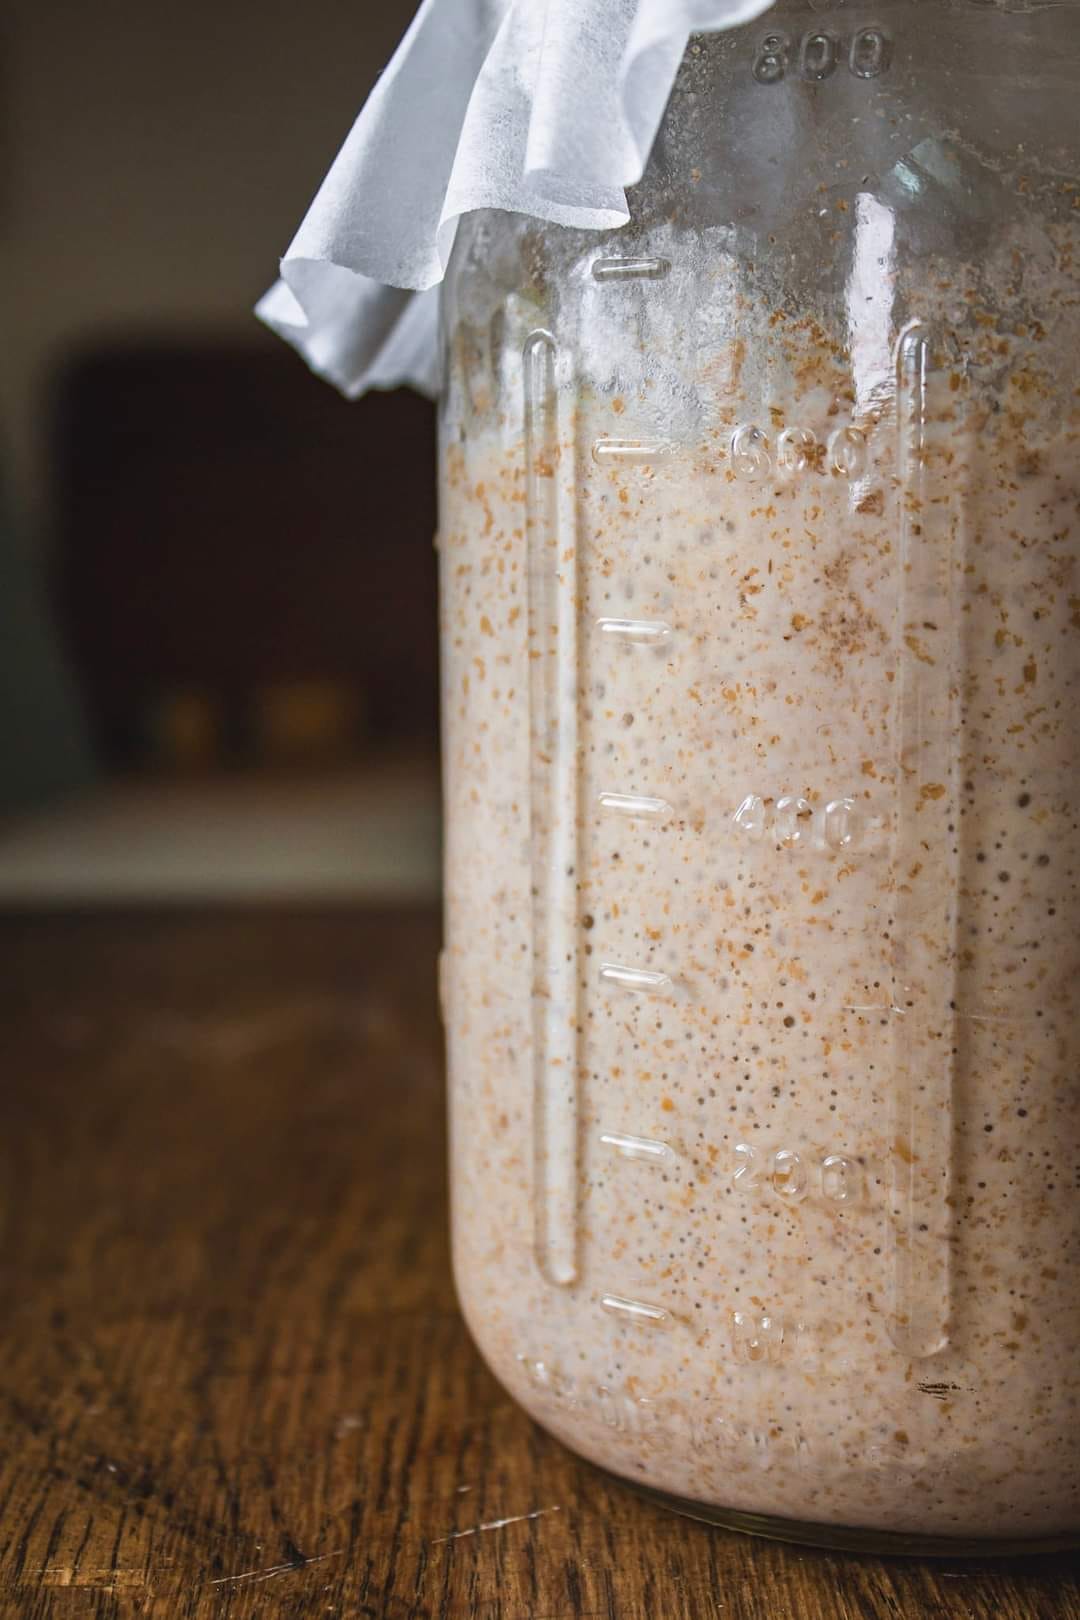
Day Four: Some people opt for one more feed before a bake, but if it’s growing and bubbly you have an active starter! If it is still slow going, feed again. You will know you have an active starter when you feed and see it double in size in 2-8 hours (this will depend on the temperature of your home).
After feeding or using, if you won’t be using again soon, you can place in the fridge to keep dormant. I recommend removing from the fridge and allowing to come to room temp to feed once a week or every two weeks to keep it alive. You will also need to let it come to room temp and feed again to ensure it is active for your next recipe.
Now for the good stuff…. let’s get into the rhythm of feeding our starter for baking.
This is where a kitchen scale is helpful - weighing in grams helps your measurements.
On my scale, I will place a clean Mason jar. I will pour 100g (for example) of sourdough starter. Then I will tare the scale (clear it to zero) and add 100g of water. I will stir these two together, tare, and then add 100g of my choice flour.
Mix thoroughly and leave in a warmer spot of your home so it can feed and grow. (Use a bigger jar for bigger amounts; remember, it has to double! Small jars are fine for small amounts. The point is even amounts of flour/water/starter).
If you don’t have a food scale, you can find affordable options on Amazon, as well as places like TJ Maxx and Marshall’s. But this is what I say to everyone…
It feels complex, but it’s really simple. Before commercial yeast was in grocery stores… before grocery stores were really a thing! Sourdough was how all bread was made! And if Ma can keep it alive on the Oregon trail surely I can too.
And Oregon Trail Ophelia didn’t have a food scale!
So until you get a food scale… just do your best. It is definitely the most precise measurement, but I made fine bread before I had one myself.
I personally do around 135 grams per starter/water/flour to have plenty of active starter for bread and discard leftover to feed and repurpose for discard pancakes.
Typically, I will cover the jar with a coffee filter and rim so it can breathe but keep dust/hair/flies at bay. You can use a flour sack towel also, and I recommend those for covering a proofing loaf! You can use anything, just don’t keep airtight.
Your starter is active and ready for a recipe when it has doubled in size. I mark this with either a dry erase marker or a rubber band around my jar, right at where my freshly fed starter sits. Then, as it grows, you can eyeball how much it has grown!
This can take a few hours, as mentioned earlier. It will just depend on your home! In the summer time I will open a window and set my starter on the windowsill after a feed… and it will double SO quickly.
In the wintertime, the growth usually goes much slower. I will feed before bed and in the morning it is doubled or will almost be there.
Suggested Links
For beginners I highly suggest my friend Samantha’s Beginner’s Guide and Recipe. She makes the best recipes - her Brown Butter Cinnamon Rolls changed my life haha. She also explains the science behind sourdough so well! And if you enjoy good visuals, Samantha shares her process alongside incredible photography.
I really love Lisa from The Farmhouse on Boone’s No Knead Sourdough. This is especially if you don’t have stand mixer or dough hook attachment for mixers. Take a browse through her meal ideas as well! She has some great dinner recipes involving sourdough that are on our regular meal rotation.
For sandwich bread, this recipe from The Clever Carrot was the first sourdough sandwich bread I ever made and it was absolutely divine.
And finally, these pumpkin sourdough muffins were a tasty breakfast treat! So filling and Autumnal.
Please reach out if you have any questions! Below you will find printable starter instructions.


